I love to use Pinterest as my virtual bulletin board. As you might guess many of my pins are sewing related. Click here to see what fun stuff I've found and pinned to different sewing boards.
Showing posts with label commercial. Show all posts

Sunday, November 15, 2015

Sleeveless to Sleeved - Pattern Work - M6076

The purple line shows the cutting lines I used for altering the original pattern to be  sleeveless
The red lines are my new adjustment lines
Earlier this fall, I first began working with the princess-seamed pattern M6076. The first result was my sleeveless Western Winds Shirt. I really liked the fit, fabric and buttons on this shirt and I wore it quite a lot.  The pattern doesn't actually come in a sleeveless version - I raised the underarm point and then graded the top of the underarm seam to create a well fitting sleeveless version.

My next goal is to create a sleeved version. So far (Jasper is encouraging slow sewing!)  To date, I've just worked on one of the four pattern pieces - the Side Front. 

Once I get all four pattern pieces reworked, and since I made alterations right on Western Winds, I'll probably make another sleeveless version just to test this version of the pattern. Also I have enough clover green linen left from my Irish Laurel dress to make it!

Then I'll be testing the sleeved version in muslin. The main changes I'm making are
1) Taking the end-of-shoulder point back out about 1"
2) Taking the underarm point out 1"
3) Dropping the underarm seam point 1.5"

I went back to Western Winds and noted where I actually sewed my princess-seams
Then I added a new seam allowance, using a Clover tracing wheel
, 1" out from those seams. 


Monday, October 12, 2015

Western Winds Princess-Seamed Sleeveless Shirt- Terminado/Finished!

I talked about the process of altering the princess-seamed shirt, commercial pattern M6076, back in Fitting Western Winds . I used my sloper to work in conjunction with the pattern.

Fitting + sewing made it such that I put off finishing the project. It means the project took a little longer. And yah know how 'tis.... when I don't sew every single day a project looses it's oomph. I wanted to get going with something else new when I had time to sew.


Good thing I had a trip to visit with my dear cousin in San Diego  motivating me to finish my Western Winds shirt. I loved wearing it on the trip, and have worn it several times since. It's still summer-warm in my part of California. Aren't I glad this good warm weather basic didn't become a UFO, because it's been adding a lot to my just-doesn't-feel-like-fall-yet wardrobe.

BTW I simply used bias tape to finish off the inside of the armscyePor que no? It works great and I had it already.

Fabric was from the "Japanese Cottons" section at Stone Mountain and Daughters in Berkley (in my materials inventory for about a year and a half) 


Horsey buttons were in my buttons inventory - scored them free somewhere. They give it that true western feel, don't you think?


Friday, December 20, 2013

Draping Lucy - Terminado! New Dress and back to Rec Sewing


Lucy is the first garment I've
created  from a pattern I
made entirely myself, on my
custom dress form.

I haven't done any regular, recreational sewing all semester (one semester = 16 weeks) because I've been focused on the class work and final projects for my two fashion classes at Cañada College. The first class was Pants Drafting, taught by Lynda Maynard (that's the woman who knows what we really want to sew, and teaches us how to do it!)  In that class, I used drafting techniques,  and many fitting followups, to produce inumerable muslin garments, tissue pattern drafts, and my first pair of jeans. Can't wait to use that pattern again and again!

My second class was Draping. This class is excellently taught by Judy Jackson. Again I went through a lot of muslin, this time learning to design my own patterns by draping them in muslin fabric on a dress form, then creating tissue patterns from those draped garments. You may have seen some of my posts this fall that showed off some of the basic garment shapes I created on a standard sized 10 dress form (I called her Babs, a name that seemed appropriate for a mannequin who came to life in the early '60's). I also began draping on my own custom dress form that I created over the summer. 

When I last talked about my custom dress form I was calling her Colette, but I've since realized that she is really a Conchita
I found working with Conchita even more challenging than working with Babs, and Babs wasn't an easy customer. Was it because Conchita represented clothing I actually plan to wear? I'm not sure yet. But if I figure it out, I'll let you know!

Starting around midterm time, I spent several weeks creating a muslin sloper (a fitted bodice and fitted straight skirt) for Conchita. For some reason I found this very challenging, though I had produced the same garments for Babs. My teacher seemed to think that there should be the same amount of challenge, if only I was careful with my measuring. I worked very hard to be exact but all I can say is that it was much harder for me and just took a lot of time, muslin, tissue and patience.

Another view of Lucy
As you can see, I moved on from my sloper to make my first garment. I had originally planned to make a traditional shoulder-yoked, dropped shoulder, shirtwaist dress with a collar and front button plackets. I was of two minds as to whether the dress would have a separate skirt joined by a waistline seam or be a one piece dress. I was planning to use a beautiful piece of deep forest green silk noil (raw silk) that I have for that dress. In my mind the dress I was planning to drape was named Ivy. I'm still planning to take up with Ivy in the not to distant future. But I got distracted by Lucy....

I'll be writing more about the process of draping Lucy in upcoming postings in this journal. One thing I know I'll be reflecting on repeatedly, is learning to read the fashion fabric's story. This lesson came from my experiences in both my pattern-creation classes this semester. In both cases I saw that constructing beautiful garments is not just about designing a piece in my mind or on a sketch pad. It really comes down to watching the behavior of the fabric I've chosen to sew with, after it's cut out and initially put together on me or my custom dress form. Creating a muslin test garment is an important part of the pattern making process, but once I start the ball rolling with muslin, I then really have to listen to the story the actual material for that garment is telling me. That's what is going to guide me to bring the garment I'm sewing to life.

Learning to listen to, and read the fabric's story really keeps me
Enchanted by Sewing
~ ~ ~ 

Resources

You can drape on a person or on a dress form. When creating for ourselves, it's easiest to use the dress form approach!

In the September Enchanted by Sewing Audio Podcast Dress Forms Episode, I described my experiences creating two different dress forms. You can listen to this talk either online on the web, or you can download the show to your mobile device (like an iPhone, Android, etc.)
http://www.enchantedbysewing.blogspot.com/2013/09/ench-by-sew-12-dress-forms.html

I'm just beginning to learn the historic and modern art of draping. It's a very artistic experience !  I've begun to develop my skill set in a class taught through the Cañada College Fashion Department. I'll be continuing my draping journey by continuing to follow the richly illustrated draping tutorials and examples in our class textbook, The Art of Fashion Draping. This excellent, and highly regarded book, by Connie Amaden-Crawford has been in use for decades. both within the industry, and by home sewists. 

Thanks Sponsors! 
When you buy products through links in this blog, you support the regular work of this blog and The Enchanted by Sewing Podcast.

Wednesday, November 13, 2013

Draping: But What *Is* It? (pattern altering and design)

A flared skirt I draped in
Fashion Lab
You're right, that hem wasn't
yet even!
Before people sewed they draped. 
And we continue to drape today. 

Most of my buddies, both sewists and non-sewists, understand what I'm talking about when I say I bought a pattern, altered it to fit a little better, and sewed it up. But when I say I'm studying draping, they give me the funny look. When I explain what draping is, I get another look.

Draping is the most historic way of creating clothing. Long before people applied the first ancient bone needles and early threads to join pieces of fur or fabric together, they hung or draped clothing on themselves and others and found ways to fix those materials onto the body. 

You may have tied or wrapped stuff around your own or a dolls body at one point in your life, and achieved a serviceable garment. Ever tossed a hole-embellished sheet over your head, and been a ghost for Halloween? I know I achieved a lovely Roman goddess effect with a large blue sheet and a little twisting around my self and over one shoulder, back in sixth grade.

In most cases of early draping, the fabric was draped directly onto the body the piece of clothing was intended for. Eventually pins were added to hold things in place (If you can knap stone or bone to create an arrowhead, why not a pin?). By the time the Romans dominated the western world, many civilizations were using something along the lines of the Roman fibula, a kind of forerunner to the modern safety pin to hold longer clothes on. They were also pretty savvy about tying fitted workmanlike garments onto their bodies.

Stitching things in place came rather later in history. It was the tying, draping and arranging of fold and fabric that counted. 

Skipping forward quickly (did you know I'm an inveterate time traveller?) we find that though modern folks have invented the flat pattern method of clothing construction, clothing designers and sewists continue to use draping as either an alternate method of creating a pattern, or as a way of testing, altering or polishing the fit of a garment created with a flat pattern. 

I'm taking a draping class in order to develop skills I can use with my custom dress form. (You may also choose to buy dress forms that you can adjust to reflect your measurements.) That means I'll be better able to alter commercial patterns to fit me, in addition to beginning my journey into creating my own patterns. I also hope that someday I'll be bold enough to create a garment from scratch right on my custom form, just like the couture houses do for their high-end clients!

As I learn to drape, I'm learning more about this ancient art form, increasing my appreciation for historic garments, and developing a sense of why the lines of different pieces of clothing fall the way they do. 


Learning to drape, and studying the history of draping is the kind of thing that keeps me...
Enchanted by Sewing!


~ ~ ~
Resources

The profession known as a "draper", has an historical significance that goes back to medieval trade guilds. http://www.ask.com/wiki/Draper

You can drape on a person or on a dress form. When creating for ourselves, it's easiest to use the dress form approach!

In the September Enchanted by Sewing Audio Podcast Dress Forms Episode, I described my experiences creating two different dress forms. You can listen to this talk either online on the web, or you can download the show to your mobile device (like an iPhone, Android, etc.)
http://www.enchantedbysewing.blogspot.com/2013/09/ench-by-sew-12-dress-forms.html


I'm just beginning to learn the historic and modern art of draping. It's a very artistic experience !  I've begun to develop my skill set in a class taught through the Cañada College Fashion Department. I'll be continuing my draping journey by continuing to follow the richly illustrated draping tutorials and examples in our class textbook, The Art of Fashion Draping. This excellent, and highly regarded book, by Connie Amaden-Crawford has been in use for decades. both within the industry, and by home sewists. 

Thanks Sponsors! 
When you buy products through links in this blog, you support the regular work of this blog and The Enchanted by Sewing Podcast.

Sunday, July 29, 2012

Pensamientos: Starting with a Commercial Tee Shirt Pattern

I stopped in to check out a buddies newest project, at my favorite sewing and crafting web site, Crafster. Once there I considered posting a question about my current challenge with the neckband on my current scoop-necked tee pattern. The challenge comes about because I'm working on creating my own personal tee patterns. This has been an ongoing challenge over the past year-plus. Though I started out with a commercial tee shirt pattern, I've moved well beyond it.
I created this tee from one of my commercial pattern alteration, some machine embroidery and some darling little lizard beads my daughter brought me back from a trip to Flagstaff Arizona.

Here are just a few variations I've created... producing three different styles that suit my ideas of the way this every-day-practical garment should fit.  I've:


- Altered shaped sides from another pattern. One variation is still straight up and down - this just works better with certain knits. The other two curve in with a kind of hourglass look. I'm an 'H' shape, but my tee shirts don't always make that clear. It seems like the hourglass look works better when I sew a knit with some lycra in it. If it's called 'jersey', I think shape it.

- Decreased the width of the shirt (by folding lengthwise down the middle of both front and back pieces)

- Added darts. I never make a tee without darts anymore.

- Worked up a couple of different neckline variations. A kind of higher circle that's more like a typical commercial, rib-knit height and a kind of boat neck look. My new scoop neck lays just right until I go to bind the edge. Then I start fighting with my binding. I've always had to lightly stretch my bindings to keep them from rolling, but now I'm needing to stretch more as I move into the scoop and less as I come into it. I finally decided that I better run a hand-basting stitch along the neckline in the version I worked on last night. That's kind of working, though there's are slight gather lines showing once the binding is pinned on. I'm currently pretending that's a design feature! Once I finish it, I'll ask around for advice on other ideas to try. I may just go back to a facing for my scoop neck design.

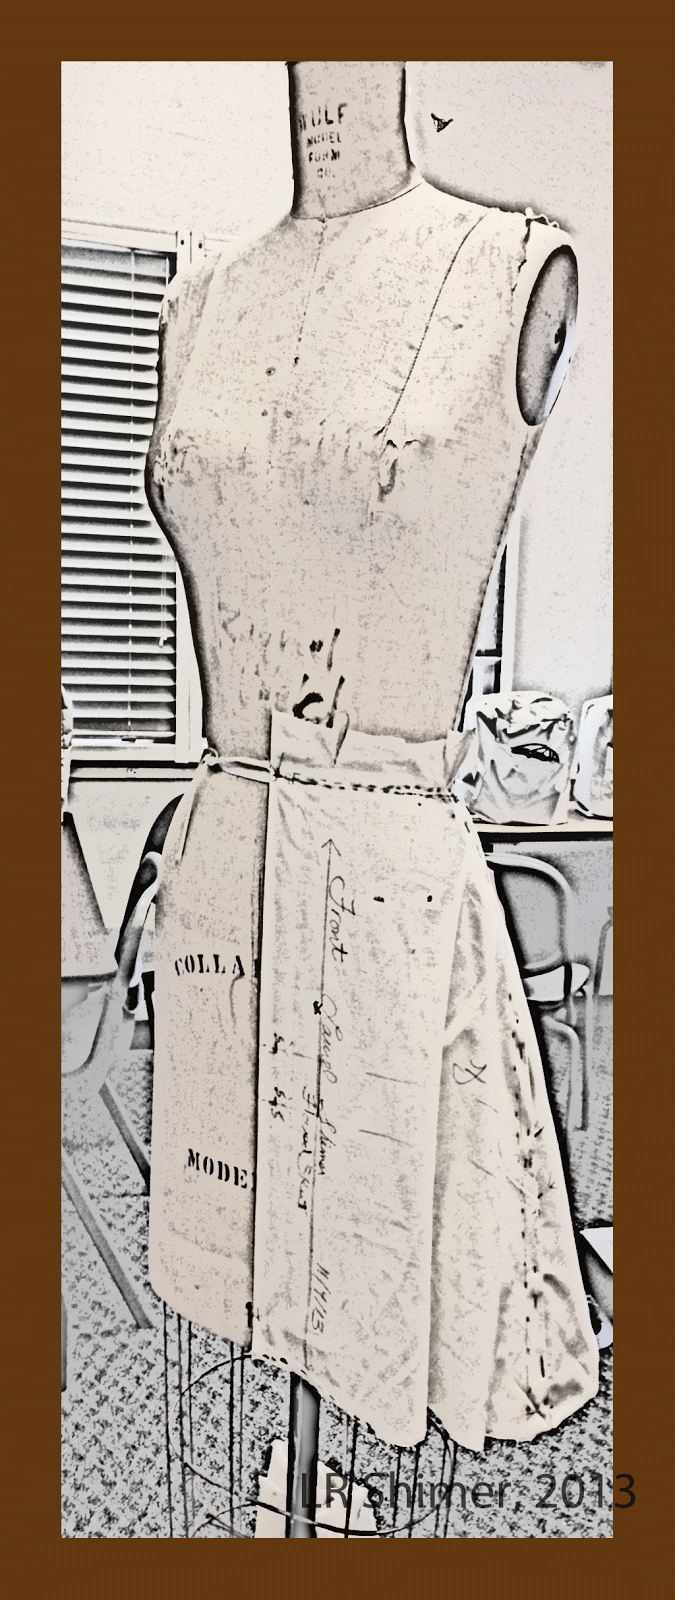
I spend a lot more time now, making test garments (a.k.a. muslin or toille). For tee shirt practice I buy the largest inexpensive tees I can find, in sets of two. Then I cut across the shoulder lines until I end up with flat pieces to work with. In most cases I can wear the result. And when I buy something splendid in the knit line from an online fabric store, I feel much more confident that it's going to look like I want it to. I've learned that I just can't overdo on the amount of time spent considering the pattern. And the more time I put in, the higher my success rate.

Learning to alter commercial patterns for myself, beyond just a change in hem, or sleeve length or width is helping me to learn to be patient. It gives me a feeling of design control. The payoff in practical prettiness is really worth it.

A few of my tees hanging to dry.